How to Make a Homemade Scarf
from a Thrift Store Dress
 Modelling My Homemade Fabric Scarf
Have you ever considered recycling a secondhand dress into a custom homemade scarf? Well, let me encourage you to give it a try.
The other day, while I was out browsing through the racks at my local thrift store, a colorful dress caught my eye. I was drawn to the gradient colors and I knew I had to recycle it into something that would highlight the beauty I saw in it.
Short pause to ponder and take in the look and feel of the fabric. --->>> Decision made.
My spur of the moment plan was to recycle the dress into a one of a kind scarf. I could already picture the array of outfits I could pair with it.
I plunked down my 65 cents and headed home, excited to begin my project of the day.
As fellow crafters I'm sure you know that "projects of the day" can present themselves more frequently than our fingers can complete the previous ones, but I was determined to get this one done, and as you can see... I DID!
Steps for Making My Recycled Homemade Scarf
1. Find a Secondhand Dress You Love
Don't limit yourself to thrift shops. You might have the perfect once loved dress in your own closet that you can recycle. The longer the dress, the longer your scarf can be, but variety is the spice of life so don't limit yourself to one length if you love the fabric. Ideally, the length on one side of the dress should be 2 1/2 to 3 1/2 feet which will result in a scarf length of approximately 5 feet (short), 6 feet (medium) or 7 feet (long) once you sew the two side together.
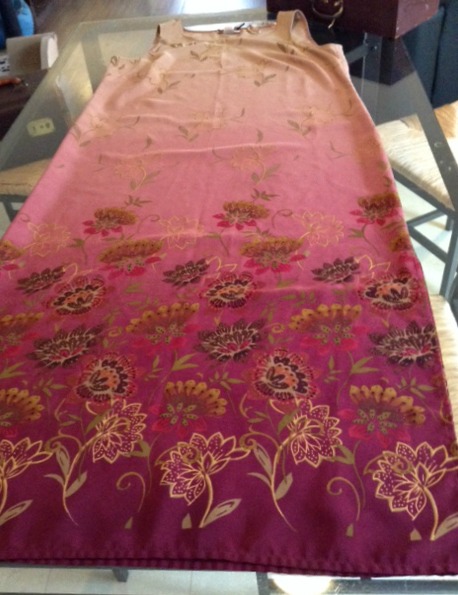 My Colorful Thrift Store Dress Ready to Be Recycled
2. Lay Dress on a Flat Surface and Cut Open the Sides
I cut along both sides of the seams to create a clean edge on the fabric without having to pick away at the stitches. You can opt to use a seam ripper instead. I prefer the speed of foregoing that finicky work. The final result is the same, so choose what works best for you.
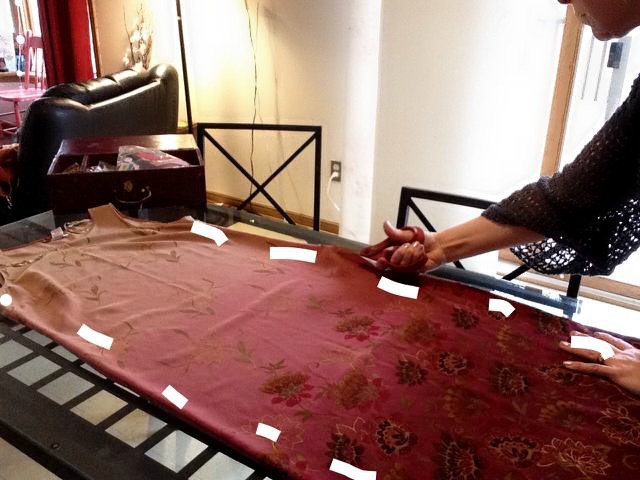 Cutting the Sides of the Dress Open to Make Fabric Scarf
3. Remove the Top of the Dress
Separate the top part of the dress from the bottom part by cutting across the dress just beneath the armpit area. This will leave you with two rectangles of fabric to sew your scarf.
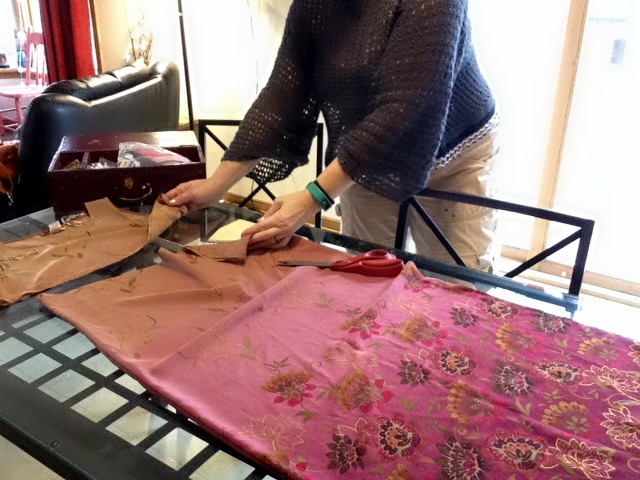 Top and Bottoms Sections of the Dress After Cutting
4. Pin Two Sides Together to Prep for Sewing
Place opposite sides of the fabric together as in the image below before pinning.
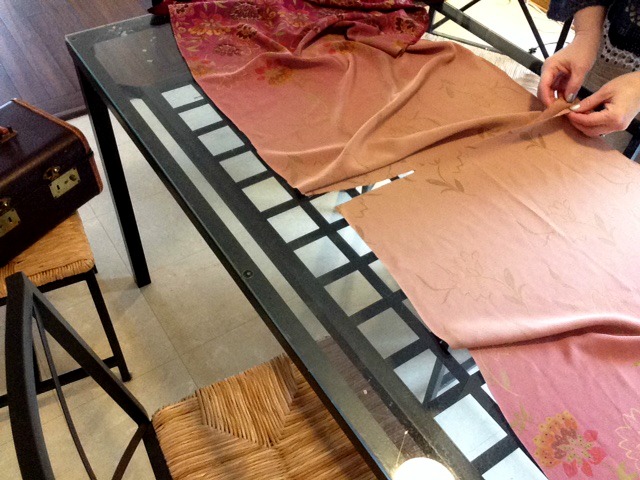 Placing the Two Sides of the Scarf Together Before Pinning
Pin fabric together before sewing as in the image below.
 Pinning the Two Sides of the Scarf Together to Prep for Sewing
5. Stitch Fabric Pieces Together
Do a straight stitch close to the edge first. Then, finish off with a small zigzag stitch as close to the straight stitch as possible to strengthen the seam and to give the seam a nice clean edge.
If you make a mistake simply pull out the seam, adjust as needed, and sew again.
6. Finish Off the Scarf Edges
Fold the edges of the scarf over twice and stitch. If you don't feel confident in eyeballing the folds while sewing, iron the edges first and or pin them down before heading to the machine. See stitching below.
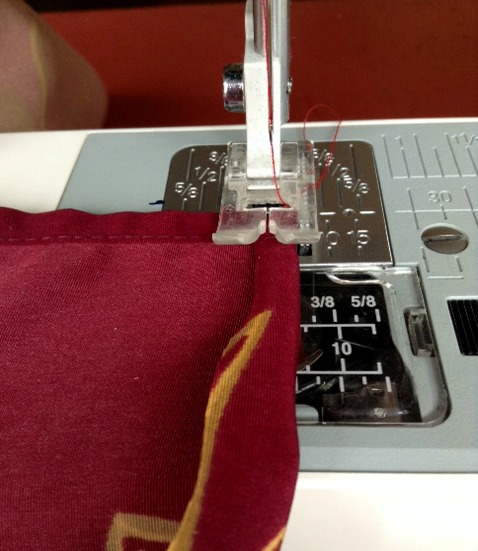 Sewing Scarf Edges
7. Wear Your Homemade Scarf with Pride
Now that you're done, wear your creation proudly or package it up to give as a gift. Be sure to take a picture to add to your memory album. And hey, why not take a moment to show off your homemade scarf here. I'd love to see it. Share it HERE!
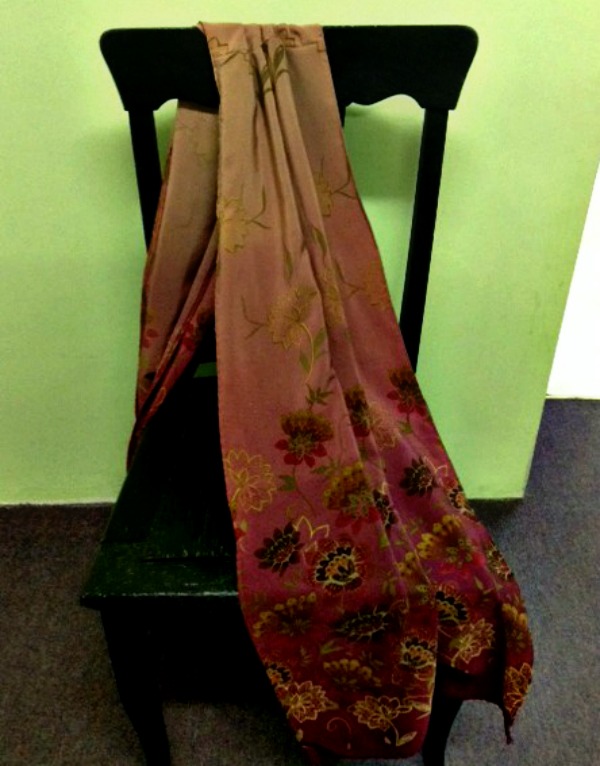 My Completed Homemade Fabric Scarf
